Day 47/365

It’s been a packaging kind of day in the studio. Packaging and organizing.

Day 47/365
It’s been a packaging kind of day in the studio. Packaging and organizing.
Day 47/365
In the spirit of productivity I’ve decided to post more ‘in progress’ notes. Above, the dried and pressed boards from yesterday’s post Continue reading
Day 45/365
As I’m sure you know by now, I’ve got a rather large arts and crafts show coming up, the One of a Kind Show. I figure this is a good time to showcase the processes I go through in making some of my products.
Today’s featured project: hand dying paper!
Testing colours, making sure to get just the right hues. I use a mix of inks and watercolour paints.

Mid-dying – yes, this is a messy process! And I love it!

A side view of boards covered with my hand dyed paper, drying in the press, makes a great texture shot.
Day 43/365

Day 41/365
Sometimes I indulge myself and combine mediums. Such is the case with this series of blue painted and relief-printed Longstitch journals. I’ve done this before with other painted journals, but recently came across these photos and felt the urge to share. 
Details are everything, matching beaded closures is a thing of beauty (to me anyways).

As many bookbinders and other makers of handmade items know, creating in multiples is key. These books are no exception. But make no mistake; each is unique in placement of the cover patterns and images. Designing these books, the covers and crafting these pieces is the sort of project that keeps me happy!
Day 40/365
A journal mid-production; this is the coptic binding variation I tend to be using more and more.
Loving the brown linen thread on the navy cover and spine, a lovely natural journal.
Day 35/365
A close up of some leather book spines from my earlier days of bookbinding. These were experiments with stitches along the spines of soft, leather journals. They started my love for trying new binding techniques and combining the best parts of bindings together, like my more recent Starburst books.
Day 34/365
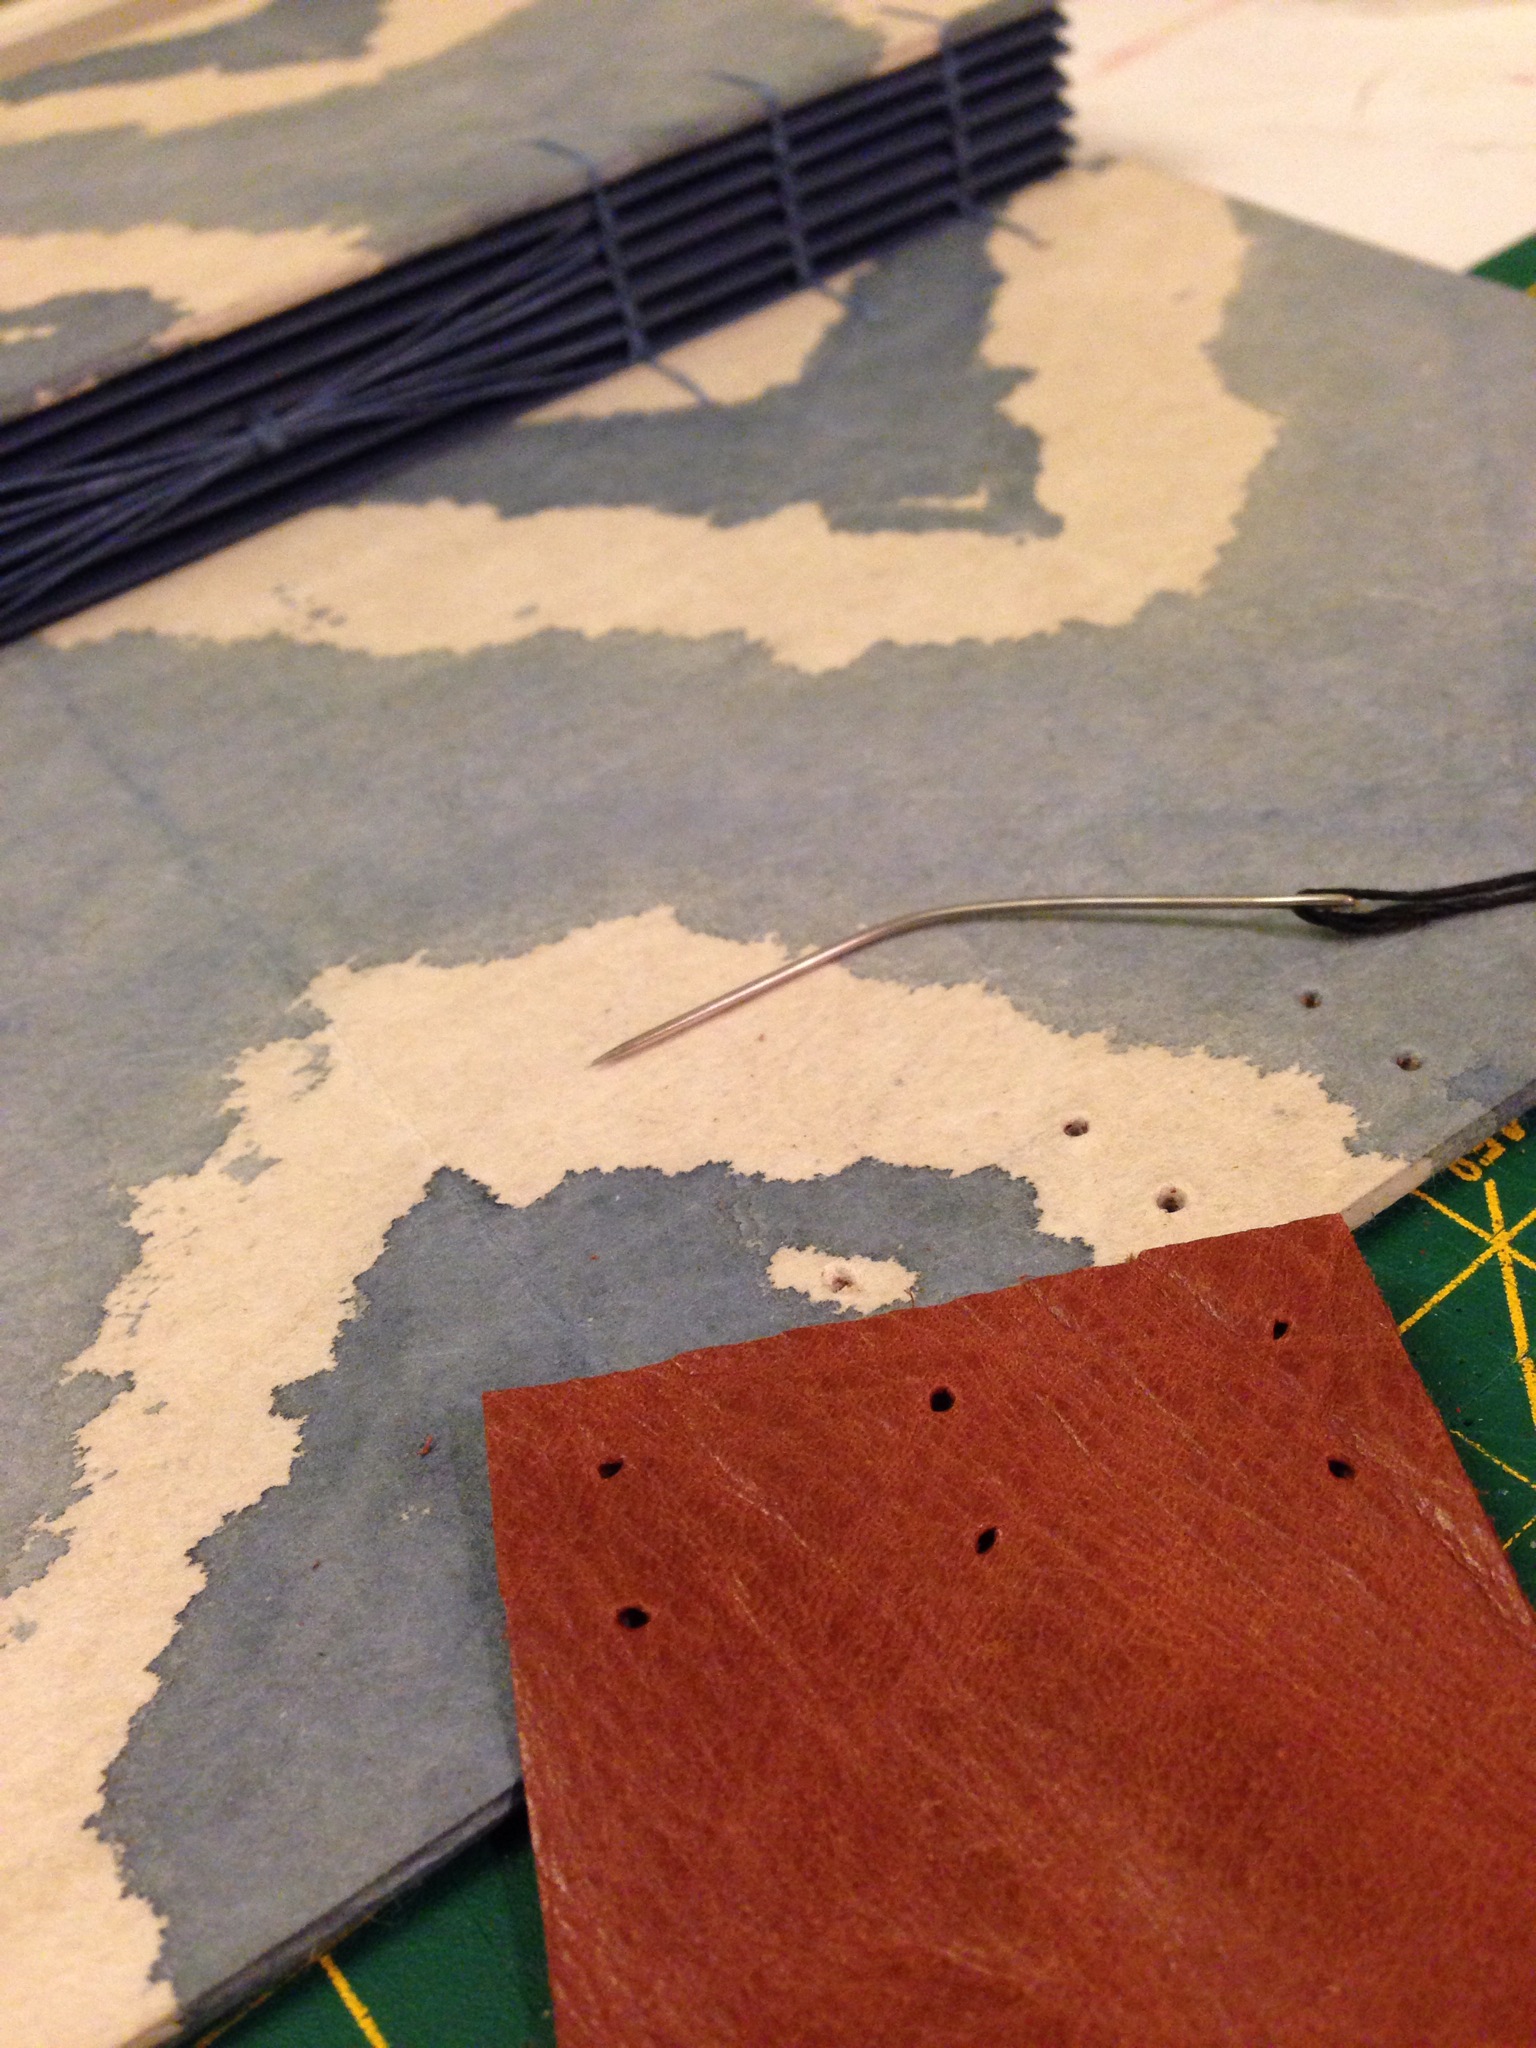
I’m in the thick of production for the One of a Kind Show, which is just around the corner. So I thought it appropriate to share a bit about my process, about what it means to create a book by hand, from scratch. So here’s a mini step by step photo series to explain.
Once the pages are cut and folded by hand, they are collated and stacked in nice, neat, tidy piles, called signatures. (If you look closely at almost any book you have handy, you’ll see at the top of the spine the pages are divided into groups like this. The exception are ‘perfect’ bound books, which aren’t perfect at all but rather simply glued on the ends, so no signatures).

After marking where to sew each signature, I use this as a template to punch holes, making it easier to sew the book.

You can see the holes in each signature line up nicely with each other, creating a lovely and symmetrical pattern in the sewing along the spine.
This is just the first part of handcrafting a book; sewing the text block (group of signatures) into a case binding. After this I would attach the text block to the case, and voila – the book is done!
Day 33/365

Today I’m working on the largest books I’ll be making all season. Not quite the largest books I’ve ever made, but for a long time at least. I am reminded that I prefer making smaller books.
Measuring 8″ x 10″, the ample page space is great for sketching or writing in long paragraphs. I’ll be featuring these books at the One of a Kind Show at the end of the month. (I’m at booth D49, stop by and say Hi!)
Day 30/365
The last couple of days have been a flurry of activity in the studio. Bookbinding kits galore!!

This year I’ve decided to make a variation of my usual kit and will be officially announcing them shortly. They are a limited edition, incredibly cute and fun!
